This is part of the Nuki Web API documentation.
Successful API calls require appropriate authorization: The bearer token (also see Bearer Authentication | Swagger Docs) needs to be present in each request to the API. There are several ways on how to obtain a valid bearer token, which we will describe in the upcoming section.
Curl call from the Swagger example:
curl -X GET --header 'Accept: application/json' --header 'Authorization: Bearer
c2c0981ffcab78eecd13c8b7ae9fdec4706045bdbb17b1ef06a335b832f36641322c5c3357b7fe47'
https://api.nuki.io/smartlock'
When to use which type of Authentication?
| Type | Usecase |
|---|---|
| API Tokens | When you use the API to access your own Nuki Web account with your own Smart Locks only. |
| OAuth2 | When you are offering an application to your users which grants your server/application the right to operate the Smart Lock of a user. When your users have no technical experience and you want to offer a simple login to your services without the need for the user to generate API tokens and copy them around. When you need short term access to a users Nuki Web information for your (mobile) web app. In this case use the implicit authentication flow. |
API Tokens
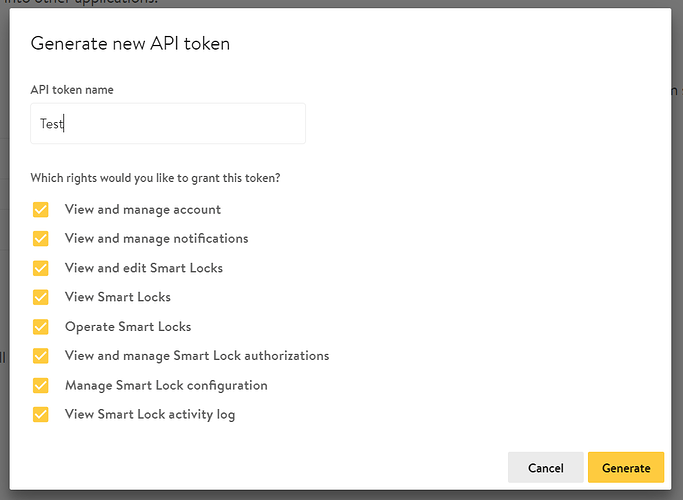
Log into your Nuki Web account, go to MENU > API and create a new API Token. Use this API Token as Authorization Bearer:
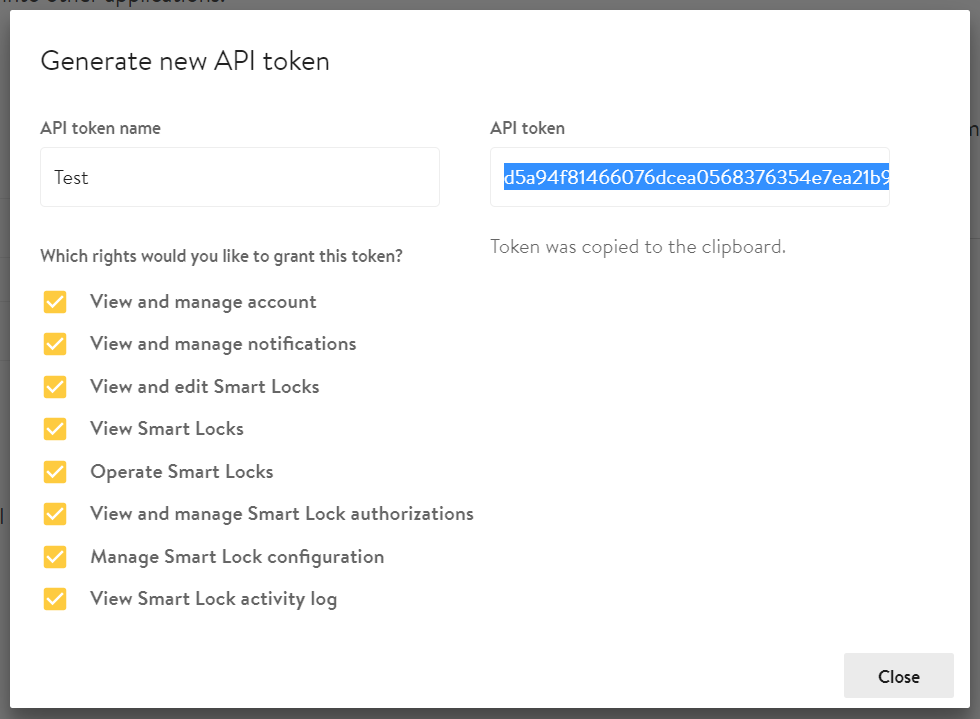
Copy the API token into the clipboard and store it in a secure way. It gives permanent access to all rights you did grant to it:
Use it as the Authorization: Bearer in your API calls:
curl -X GET --header 'Accept: application/json' --header 'Authorization: Bearer API_token' 'https://api.nuki.io/smartlock'
API tokens do not expire, but they are destroyed when the password of the corresponding Nuki Web account changes.
OAuth 2
We support the Authorization grants “Code Flow” and “Implicit”. When using “Implicit” the access token expires after one hour.
If you follow the “Code Flow” scheme you will need a client secret in order to receive an access token. Client secrets are issued only by Nuki. Please apply via Nuki Web to get yours.
For an introduction to OAuth 2 have a look at this:
Code Flow - OAuth 2 Authentication Example
1. Authorization Code Link
https://api.nuki.io/OAuth/authorize?response_type=code&client_id=CLIENT_ID&redirect_uri=CALLBACK_URL&scope=SCOPES
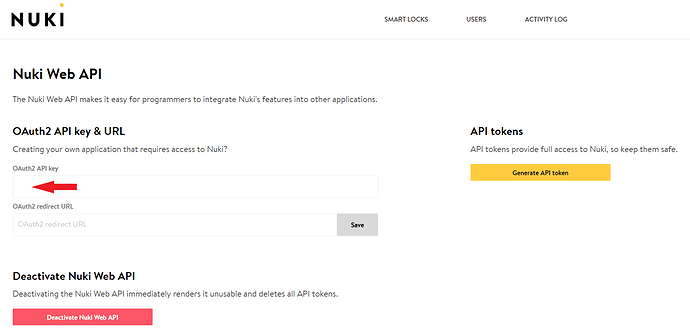
CLIENT_ID is your OAuth 2 API Key from Nuki Web > MENU > API
CALLBACK_URL is your callback URL to which users will be redirected after they successfully logged in. This field is mandatory in the code or implicit flow, so the CALLBACK_URL has to be restricted by inserting it into Nuki Web > MENU > API > OAuth 2 Redirect URL. You can add several URIs as comma separated values.
SCOPES is a list of scopes that you want to request from the user for your application. You can see which scope is needed for which API command on the Swagger frontend at https://api.nuki.io.
All parameters need to be URL encoded (Online URL encoder/decoder).
Example Authorization Call:
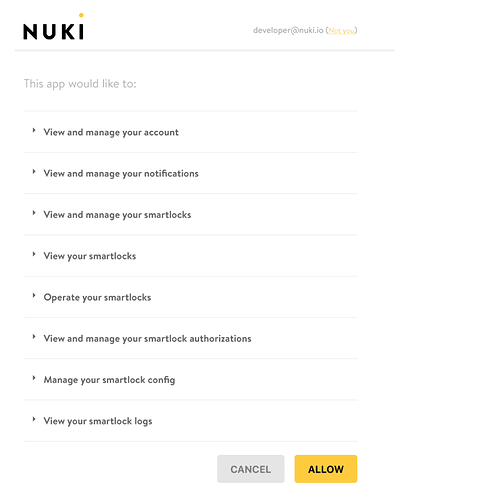
http://api.nuki.io/OAuth/authorize?response_type=code&redirect_uri=https%3A%2F%2Ftest.com&client_id=v7kn_NX7vQ7VjQdXFGK43g&scope=account%20notification%20smartlock%20smartlock.readOnly%20smartlock.action%20smartlock.auth%20smartlock.config%20smartlock.log
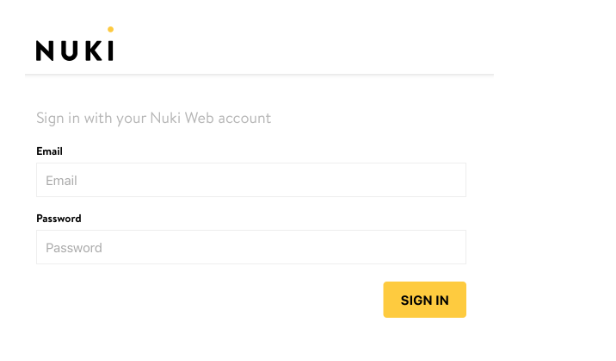
2. User Authorizes Application
3. Application Receives Authorization Code
Your user will be redirect to the provided callback URL:
CALLBACK_URL?code=AUTHORIZATION_CODE
Redirect URL from the example above:
https://www.test.com/?code=d69dc5bdfbae822707a3bbc3a8ea2f1a9f6053d5%7C1517592822654
4. Application Requests Access Token
Your application/server posts to the following URL to receive the final access token:
curl -X POST -d “client_id=CLIENT_ID&client_secret=CLIENT_SECRET&grant_type=authorization_code&code=AUTHORIZATION_CODE&redirect_uri=CALLBACK_URL” https://api.nuki.io/OAuth/token
CLIENT_ID is your OAuth 2 API Key from Nuki Web > MENU > API
CALLBACK_URL is your callback URL to which users will be redirected after they successfully logged in. This field is mandatory in the code or implicit flow, so the CALLBACK_URL has to be restricted by inserting it into Nuki Web > MENU > API > OAuth 2 Redirect URL. You can add several URIs as comma separated values.
CLIENT_SECRET is your client secret received from developer@nuki.io.
5. Application Receives Access Token
You will receive something like this as response from the server:
{"access_token":"ACCESS_TOKEN","token_type":"bearer","expires_in":2592000,"refresh_token":"REFRESH_TOKEN"}
You can use this ACCESS_TOKEN to make requests to the API in the same way as with API token authentication:
curl -X GET --header 'Accept: application/json' --header 'Authorization: Bearer ACCESS_TOKEN' 'https://api.nuki.io/smartlock'
6. Token Refresh
After your access token expires you will receive an “Invalid Token Error” from the API. You can use the REFRESH_TOKEN received in step 5 to get a new ACCESS_TOKEN by posting the following URL:
curl -X POST -d “grant_type=refresh_token&client_id=CLIENT_ID&client_secret=CLIENT_SECRET&refresh_token=REFRESH_TOKEN” https://api.nuki.io/OAuth/token
CLIENT_ID is your OAuth 2 API Key from Nuki Web > MENU > API
CLIENT_SECRET is your client secret received from developer@nuki.io.
REFRESH_TOKEN is your refresh token received together with your last access token (step 5)
Implicit OAuth 2 authentication example
1. Authorization Code Link
https://api.nuki.io/OAuth/authorize?response_type=token&client_id=CLIENT_ID&redirect_uri=CALLBACK_URL&scope=SCOPES
CLIENT_ID is your OAuth 2 API Key from Nuki Web > MENU > API
CALLBACK_URL is your callback URL to which users will be redirected after they successfully logged in. This field is mandatory in the code or implicit flow, so the CALLBACK_URL has to be restricted by inserting it into Nuki Web > MENU > API > OAuth 2 Redirect URL. You can add several URIs as comma separated values.
SCOPES is a list of scopes that you want to request from the user for your application. You can see which scope is needed for which API command on the Swagger frontend at https://api.nuki.io.
See the example of the “code flow” authorization for a detailed description of the parameters.
2. User Authorizes Application
Same as with “code flow” authorization
3. Receive Access Token Via Callback URL
Your user will be redirected to the provided callback URL:
CALLBACK_URL?token=ACCESS_TOKEN
Your application needs to extract the ACCESS_TOKEN from the URL and can afterwards use this ACCESS_TOKEN for up to one hour to make requests to the API in the same way as with API token authentication:
curl -X GET --header 'Accept: application/json' --header 'Authorization: Bearer ACCESS_TOKEN' 'https://api.nuki.io/smartlock'

